
DIY Car Window Tinting: What You Need to Know Before Starting
St
Understanding the Basics of Car Window Tinting
DIY car window tinting can be a cost-effective way to enhance your vehicle's appearance and privacy, but it's essential to understand the basics before diving in. Window tinting involves applying a thin film to the inside of your car's windows, which helps reduce glare, block UV rays, and keep the interior cooler. However, successful tinting requires patience, precision, and the right tools.
Gathering the Necessary Tools and Materials
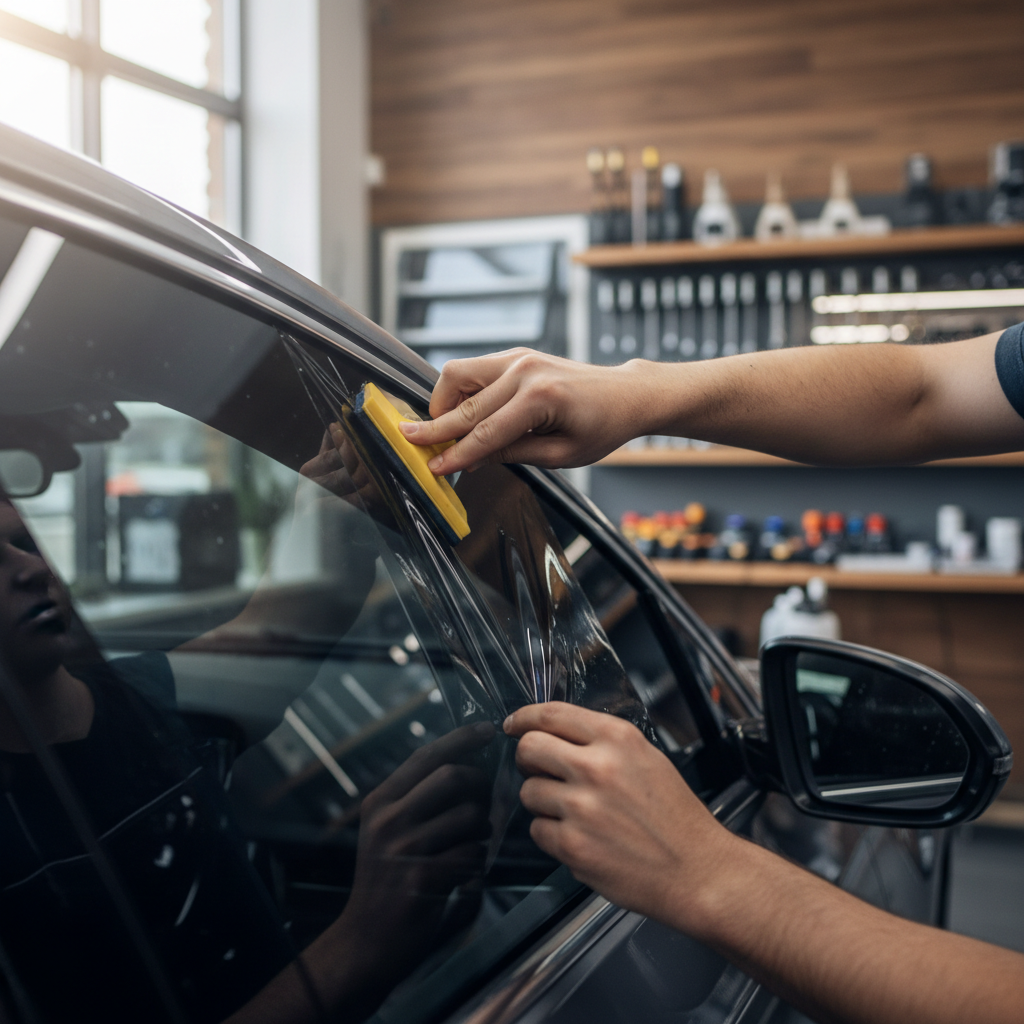
Before starting your DIY project, ensure you have all the necessary tools and materials. You'll need high-quality window tint film, a squeegee, a utility knife, a heat gun, and a cleaning solution. It's crucial to choose the right tint percentage that complies with local laws and suits your preferences. Having the correct tools will make the process smoother and more efficient.
Consider purchasing a pre-cut tint kit tailored to your car model, as it can significantly simplify the installation process. These kits often include detailed instructions, making them ideal for beginners. If you decide to cut the film yourself, ensure you have a steady hand and take precise measurements.
Preparing Your Workspace
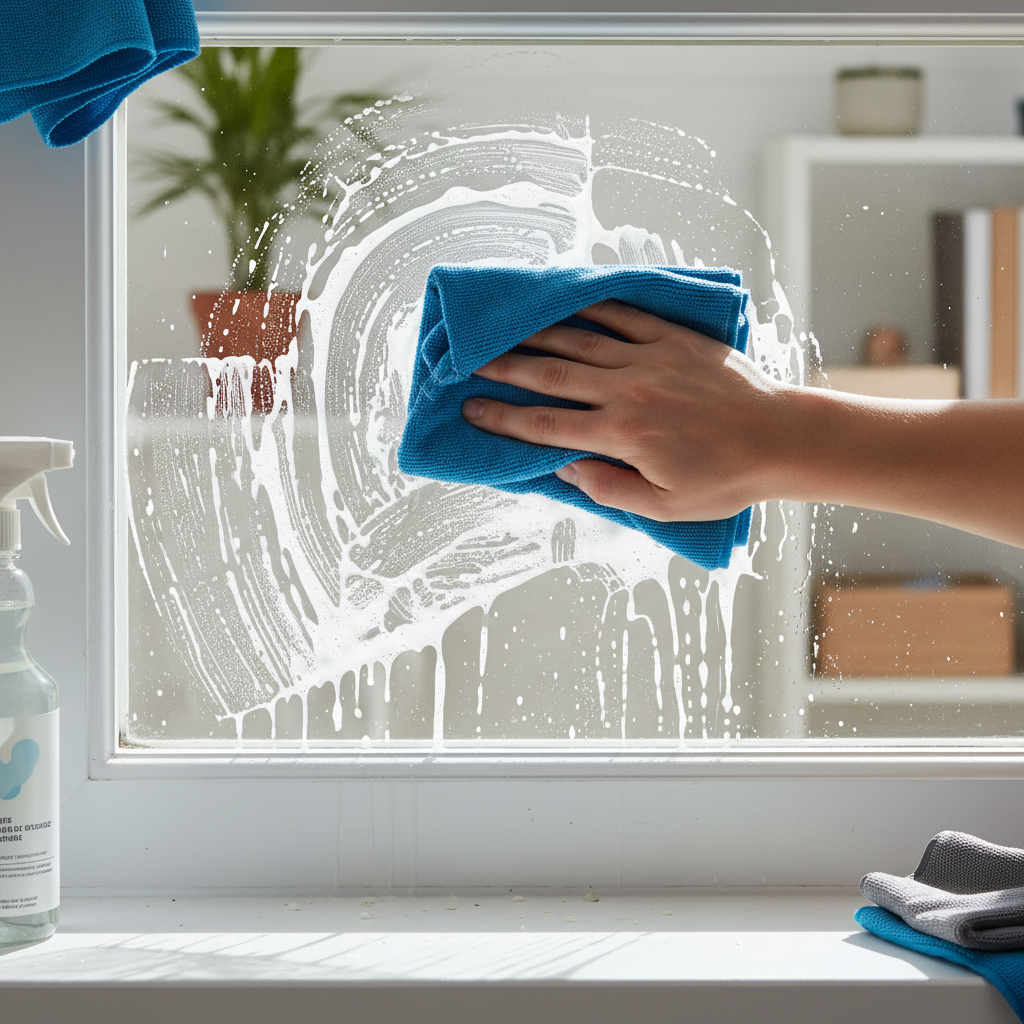
Creating a clean and controlled environment is key to a successful tinting job. Work in a dust-free area, preferably indoors, to prevent debris from getting under the film. Make sure your car windows are spotless by using a high-quality glass cleaner and a lint-free cloth. Any dirt or grime left on the windows can cause bubbles and imperfections in the tint.
Applying the Tint Film
Once your workspace is ready and your windows are clean, it's time to apply the film. Start by cutting the film slightly larger than the window size. Carefully peel the backing from the film and spray it with a soapy water solution. This allows you to slide the film into position on the window.
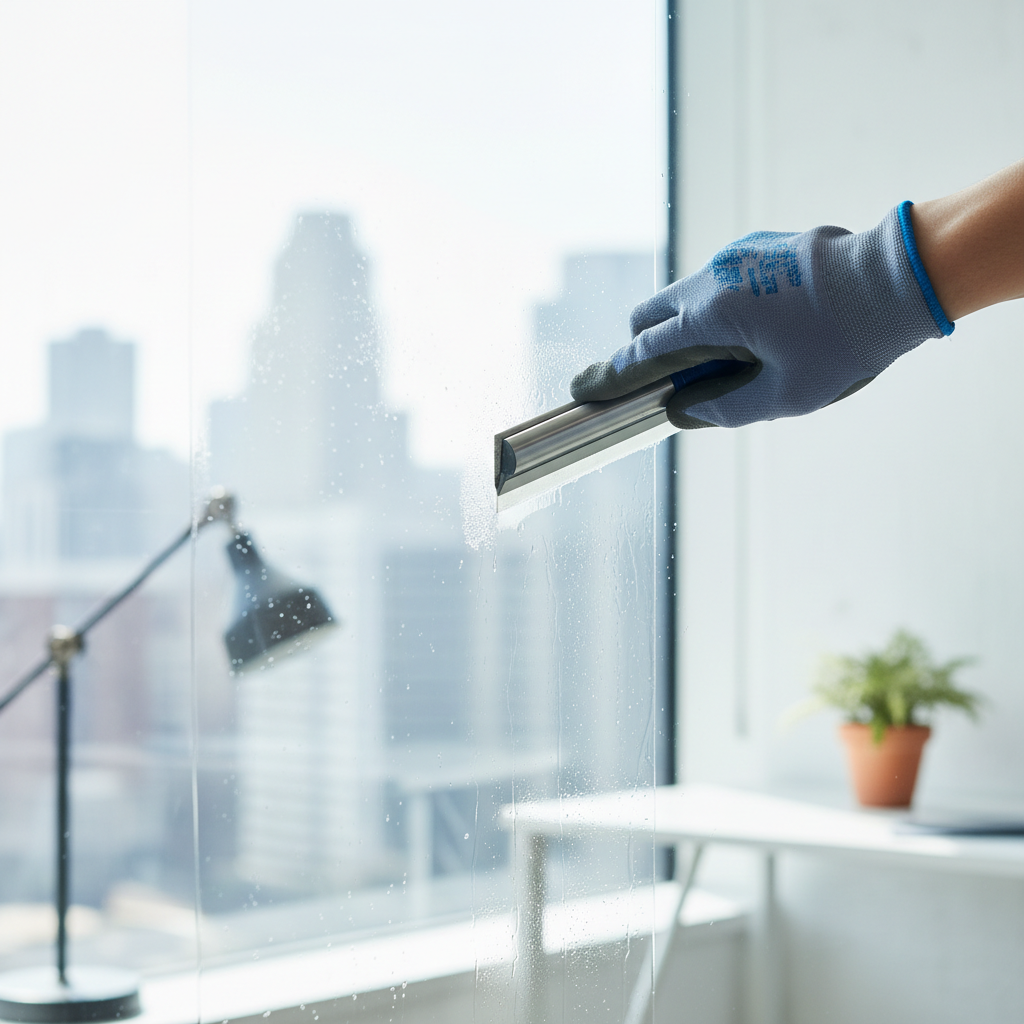
Use a squeegee to smooth out the film, starting from the center and working towards the edges. This step is crucial for removing air bubbles and ensuring a tight fit. If the film doesn't lay flat, use a heat gun to carefully soften it, allowing you to mold it to the window's shape.
Finishing Touches and Maintenance
After the film is applied and smoothed out, trim any excess material using a utility knife. Be cautious not to cut too close to the edge to avoid peeling. Let the tint cure for a few days before rolling down the windows, as this helps the adhesive bond properly.
To maintain your window tint, clean it with a mild, ammonia-free cleaner and a soft cloth. Avoid abrasive materials that could scratch or damage the film. Regular maintenance will keep your tint looking fresh and prolong its lifespan.
Legal Considerations and Final Thoughts
Before embarking on your DIY tinting project, familiarize yourself with local tint laws. Different regions have specific regulations regarding the allowable tint percentage and which windows can be tinted. Non-compliance can lead to fines and the need to remove the tint.
DIY car window tinting can be a rewarding project that enhances your vehicle's appearance and comfort. By following these guidelines and taking your time, you can achieve professional-looking results without the hefty price tag. Happy tinting!