
DIY Guide: Installing Vehicle Graphics for a Professional Finish
Understanding the Basics of Vehicle Graphics Installation
Installing vehicle graphics can be an exciting DIY project that transforms your car into a mobile advertisement or a personalized work of art. Whether you're applying a full wrap or simple decals, achieving a professional finish requires attention to detail and the right techniques. Before diving in, it's important to gather the necessary tools and understand the basic steps involved in the process.
First, ensure you have high-quality vehicle graphics, which are typically made from vinyl. You'll also need tools like a squeegee, measuring tape, a sharp utility knife, and a heat gun. Starting with the right materials sets the foundation for a smooth installation.
Preparing Your Vehicle for Graphics
Preparation is key to a successful vehicle graphics installation. Begin by thoroughly cleaning your vehicle's surface to remove any dirt, dust, or grease. Use a gentle detergent and water solution, followed by isopropyl alcohol to ensure the area is spotless. This step helps the adhesive on the graphics stick better and last longer.
Once clean, inspect the surface for any dents or imperfections. It's crucial to address these issues as they can affect the final appearance of your graphics. If necessary, consider repairing or smoothing out these areas before proceeding.
Applying the Vehicle Graphics
With your vehicle prepped and ready, you can start applying the graphics. Begin by measuring and marking the area where you want to place your design. This ensures that everything is aligned and centered properly. Use masking tape to temporarily hold the graphic in place and verify its position.
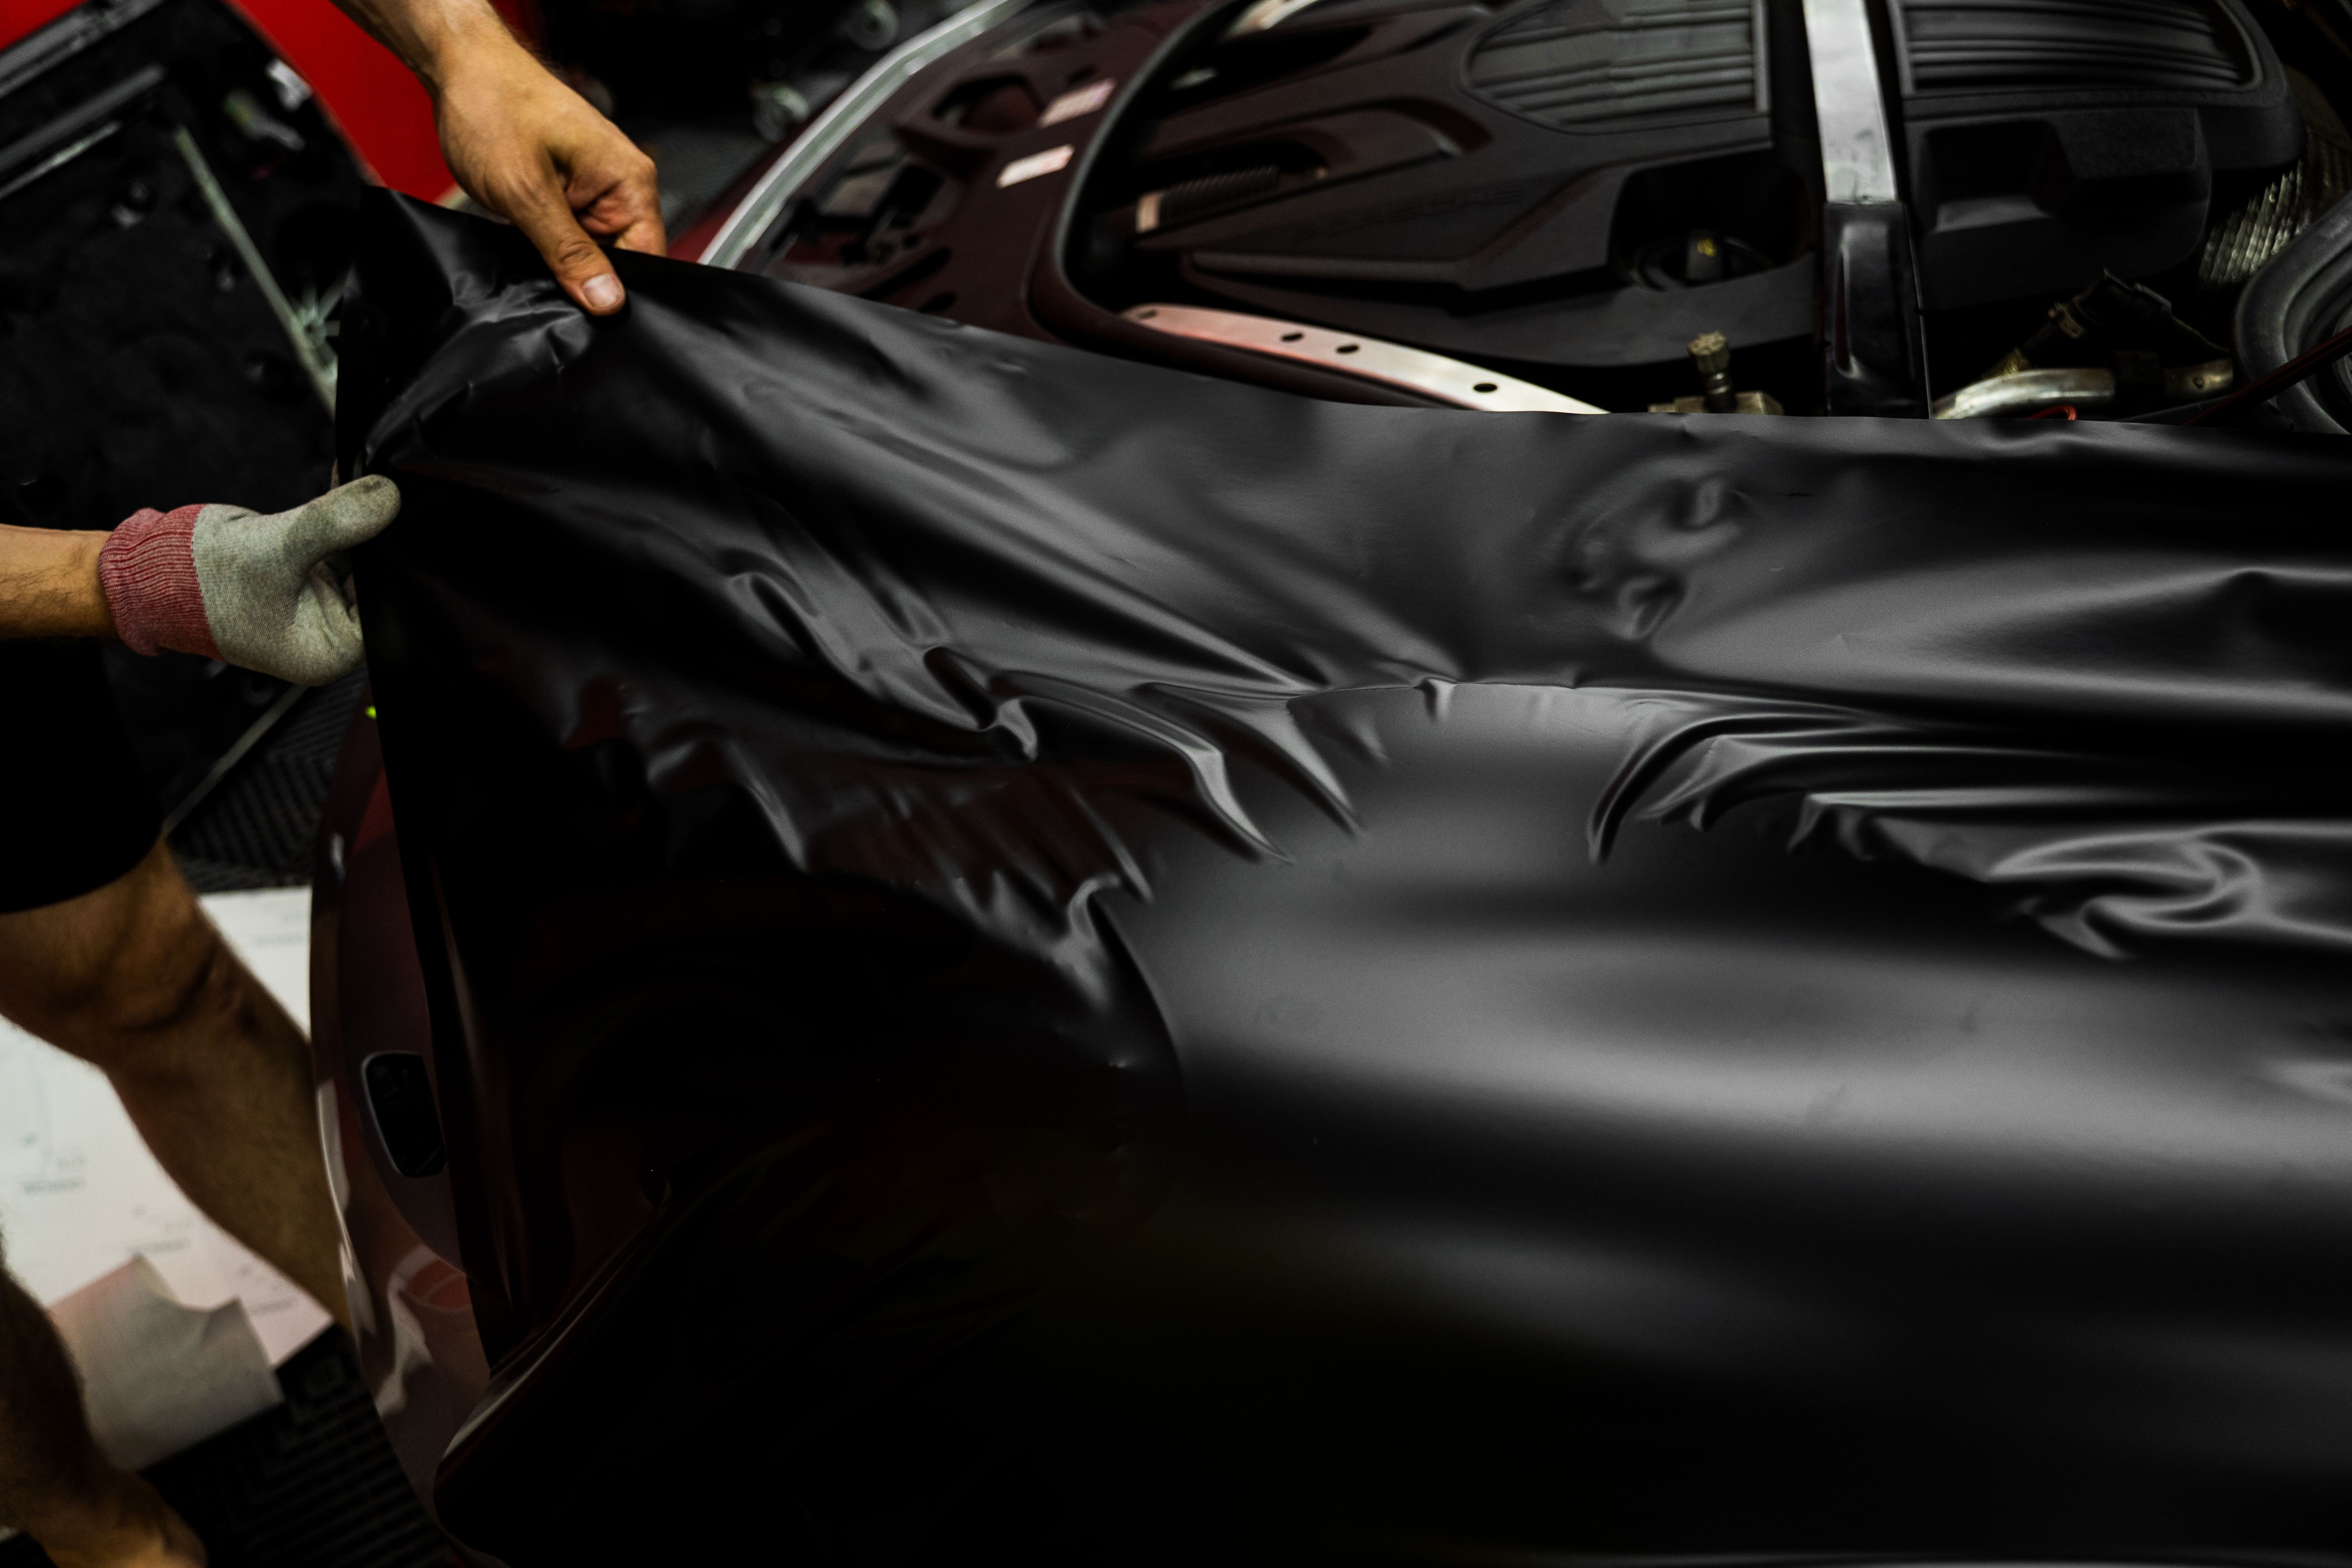
Peel back a small section of the adhesive backing and start applying the graphic from one edge. Use a squeegee to smooth out the vinyl as you slowly remove the backing paper. This technique helps prevent air bubbles and wrinkles from forming under the graphic.
Smoothing and Finishing Touches
After applying the graphic, use a heat gun to gently warm the vinyl. This makes it more pliable and helps it conform to curves and contours on your vehicle. Be cautious with the heat gun to avoid overheating and damaging the material.
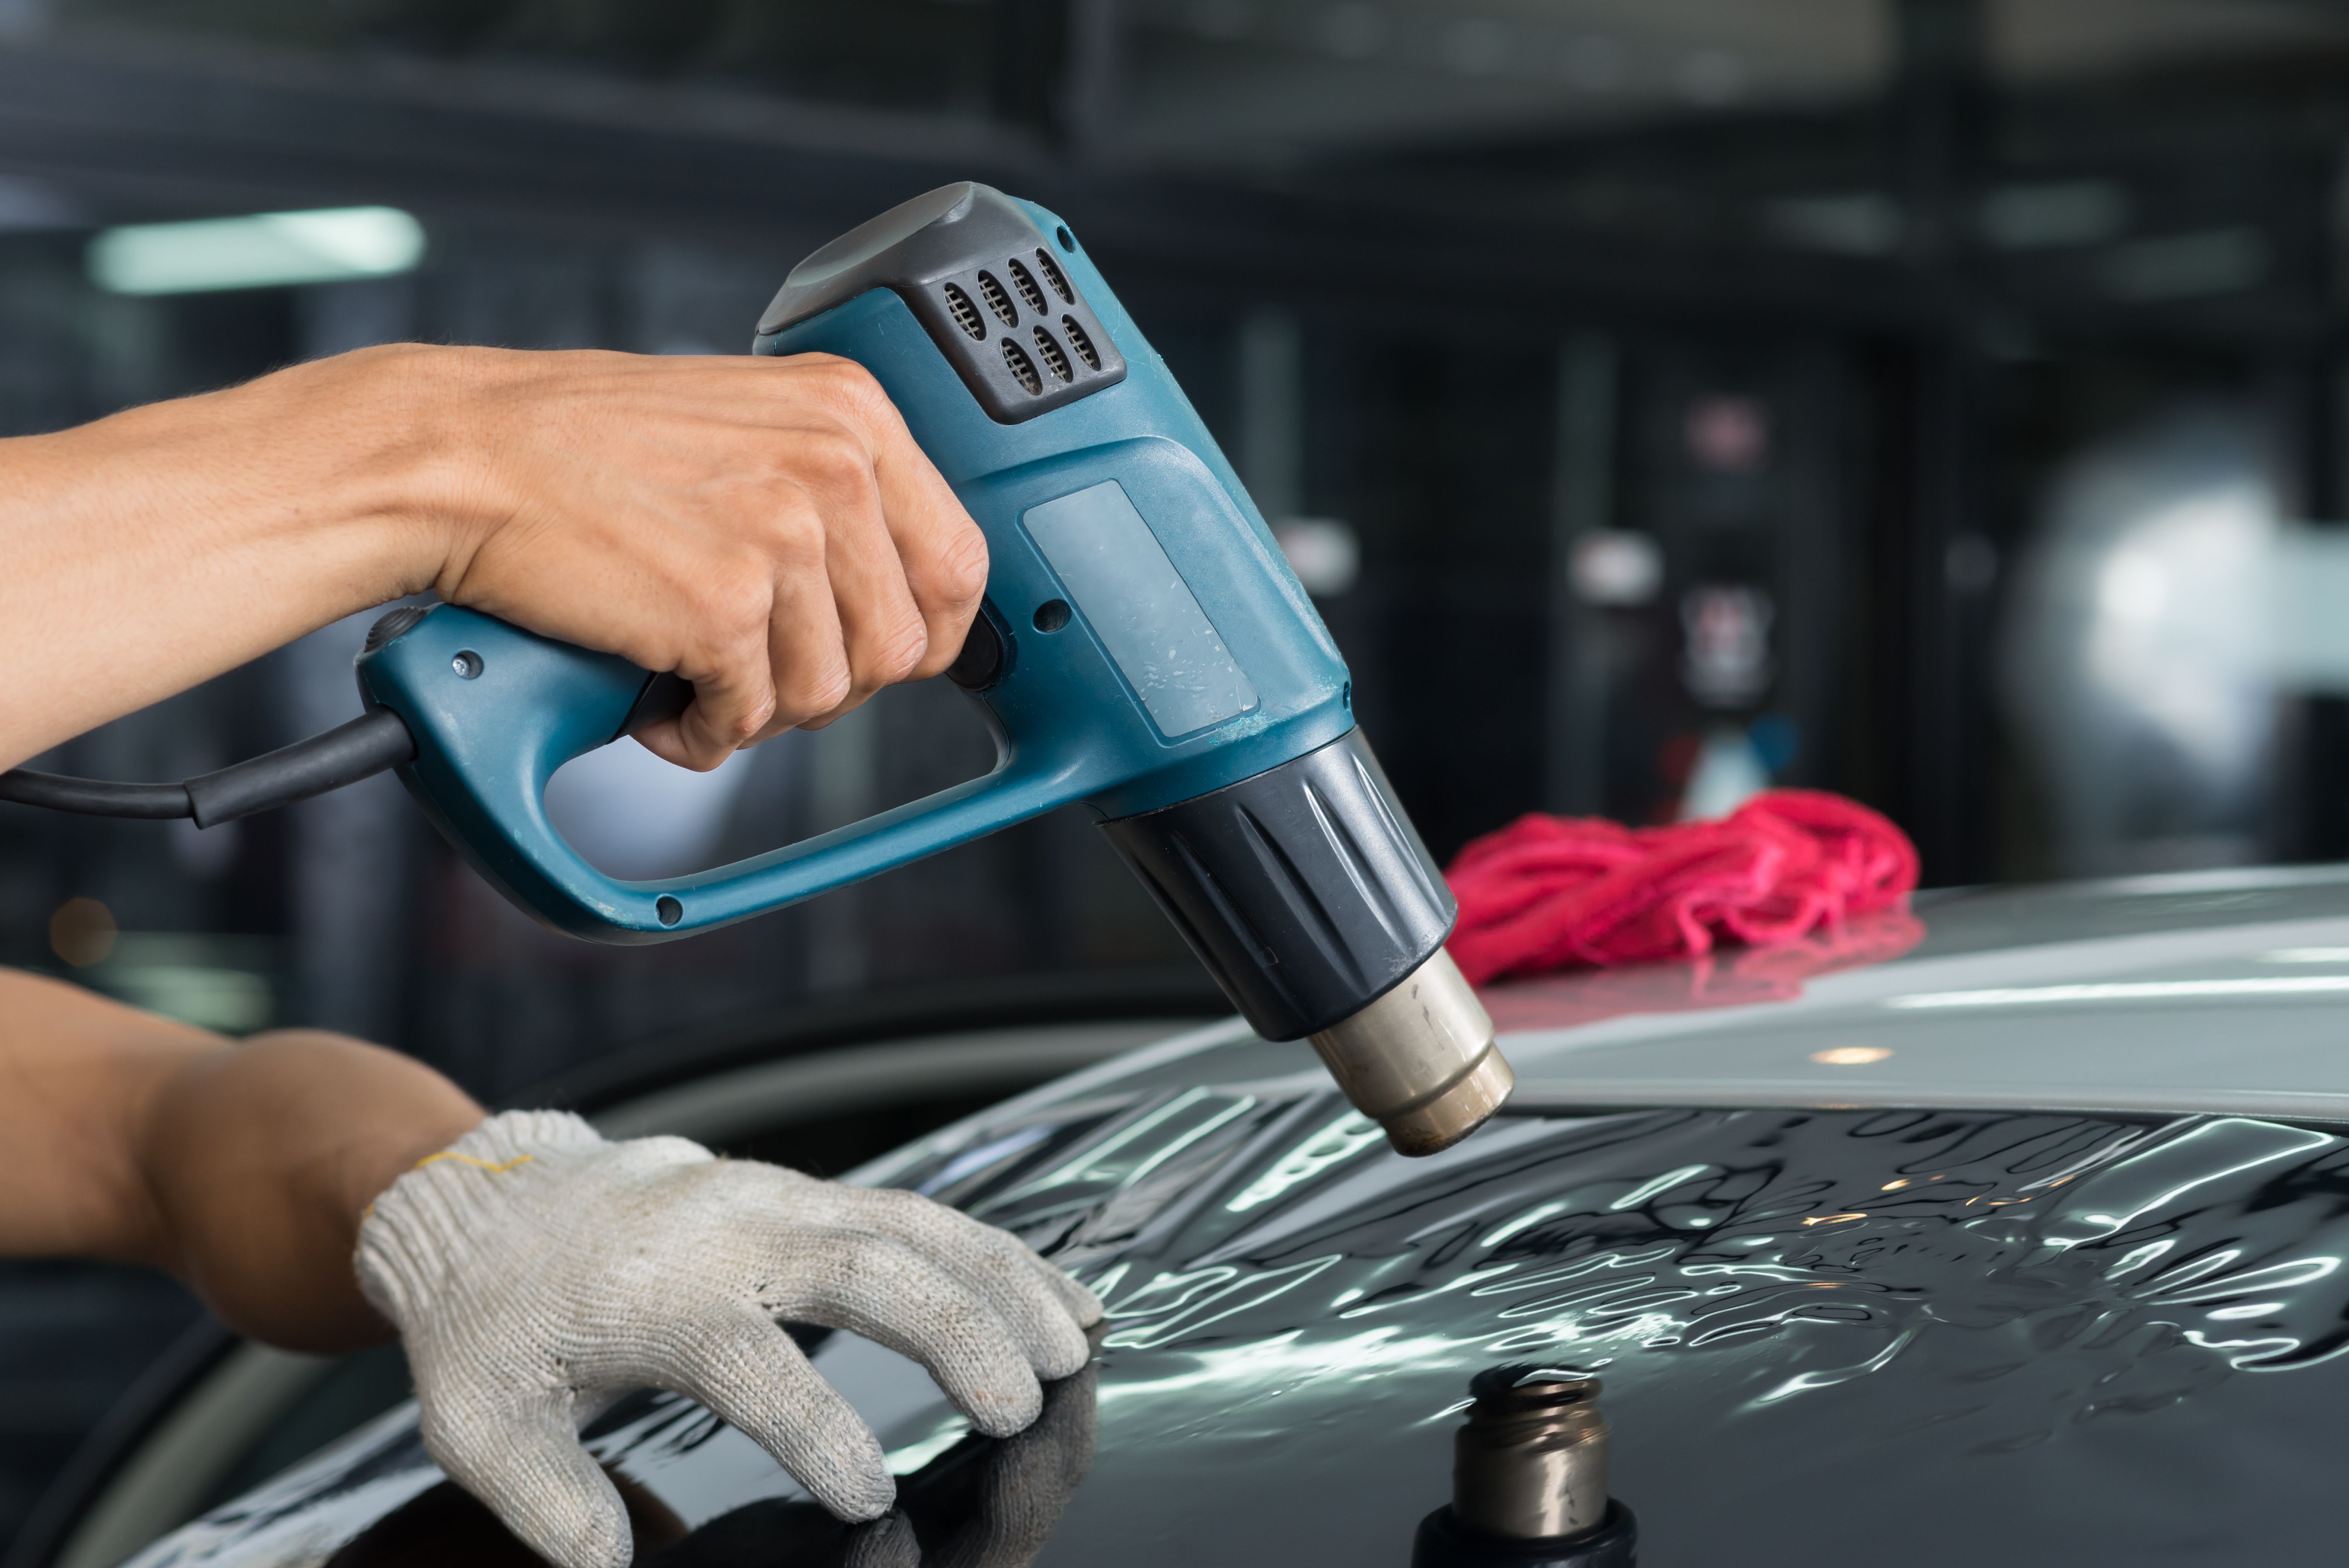
Once heated, use your squeegee to further smooth out any remaining bubbles or wrinkles. Pay special attention to edges and corners to ensure they adhere properly. Trim any excess vinyl with a sharp utility knife for a clean, polished look.
Maintaining Your Vehicle Graphics
Proper maintenance is essential for keeping your vehicle graphics looking their best. Regularly wash your vehicle with mild soap and water, avoiding harsh chemicals or abrasive materials that could damage the graphics. Additionally, try to park in shaded areas or use a car cover to protect the vinyl from prolonged sun exposure.
If you notice any edges starting to peel or lift, address these issues promptly by reapplying heat and pressure to secure them back in place. Taking these simple steps will help extend the lifespan of your graphics and maintain their vibrant appearance.
Common Challenges and Solutions
Despite careful preparation and application, you may encounter some common challenges during the installation process. Air bubbles are perhaps the most frequent issue. If small bubbles appear, use a pin to gently puncture them and then smooth them out with your squeegee.
For larger bubbles or misalignments, carefully peel back the affected section of vinyl and reapply it, using heat if necessary to make adjustments. Practicing patience and precision will greatly enhance your ability to achieve a professional finish.
Conclusion
Installing vehicle graphics yourself can be a rewarding project that saves money while allowing for creative expression. By following these steps and taking your time with each part of the process, you can achieve a professional finish that enhances both the appearance and functionality of your vehicle.
Remember that practice makes perfect. With experience, you'll become more adept at handling different types of graphics and surfaces, turning your DIY efforts into stunning results.